Friday, January 16, 2026

What To Do With These Big Emotions


What to Do With These Big Emotions

Available on Amazon! 


There are moments when something you’ve been carrying quietly finally becomes real.

Holding this book in my hands for the first time was one of those moments.

What to Do With These Big Emotions began as a simple thought:
What if children had the language to understand what they feel—early?
Not to fix it.
Not to rush through it.
Just to understand it.

So many of us learned how to manage emotions long after we needed to. Some of us are still learning. I wanted to create something gentle, affirming, and accessible for children who experience big feelings—and for the adults guiding them.

This book invites children to notice their emotions, name them, and see them as information rather than something to fear or suppress. Joy, sadness, frustration, calm—each emotion has a place. Each one is valid. Each one has something to teach.

Watching this book move from an idea, to words, to pages, and now into the world has been both grounding and surreal. It feels aligned with the work I’m doing in my own life—paying attention, slowing down, and creating space for what’s real.

If you’re raising a child who feels deeply, or if you’re reconnecting with that part of yourself, I hope this book meets you gently.

It’s now available, and I’m grateful for everyone who has supported this journey—quietly or loudly, recently or from the very beginning.

Where to Find the Book

You can find What to Do With These Big Emotions on Amazon here:
https://a.co/d/9COvO2Y

Thank you for being here, for witnessing this moment, and for valuing emotional understanding as part of a full life.

— Stephanie

SHARE:

Thursday, September 4, 2025

Are We in the Era of Accountability?


We live in a time where truth no longer hides for long. Actions are broadcast, receipts are archived, and silence is rarely protection. Some call this “cancel culture,” others call it “justice,” but what it really reflects is a collective shift: accountability is no longer optional—it is demanded.

Social movements remind us of the voices that once went unheard. Technology ensures that oversight is no longer the sole domain of institutions. A tweet, a video, or a leaked document can spark global outcry. We are witnessing the collapse of shadows, the rise of exposure.

Yet, exposure is not the same as accountability. To be accountable is to acknowledge harm, repair trust, and realign actions with values. Too often, institutions issue statements without transformation. Too often, individuals deny rather than reckon. This reveals the tension of our era: we are fluent in calling out but still learning the deeper language of repair.

From a compliance and innovation lens, this moment carries enormous weight. Old compliance models were built around rules, audits, and enforcement. They were necessary, but incomplete. Today’s stakeholders—whether employees, participants in research, communities, or investors—demand something deeper: proof of responsibility.

This is the shift from the era of exposure into the era of accountability. Transparency is no longer enough; what matters now is verifiable alignment between what organizations say and what they do. Accountability must move beyond checkbox regulation into systems that build trust by design—ethical oversight, real-time verification, and restorative practices that close the gap between law, ethics, and lived experience.

This is where innovation has the chance to lead. Platforms that integrate accountability into their very architecture—through metrics, ethical AI, and human-centered reporting—will define the next wave of trust. My own work in research compliance seeks to live at this frontier: reimagining oversight not just as regulation, but as responsibility that protects participants and proves integrity.

So are we in the era of accountability? Perhaps not fully. Perhaps we are standing in its doorway. Exposure has opened the path, and accountability waits for us to step through. The question isn’t simply whether accountability has arrived—it’s whether we, as individuals and institutions, are willing to be accountable: to ourselves, to each other, and to the world we’re shaping.


Be Great,

    Stephanie 

SHARE:

Tuesday, September 12, 2023

DIY Laundry Room Signs


I saw somewhere in some home décor magazine that you shouldn't put "room" signs in your home, but hey, what do they know LOL. I loved the idea of making these and therefore went right ahead and put the obvious signs in my Laundry Room. 


An overview on how I did these are below. I'm working on capturing each step via photo, but sometimes I get in the groove and forget! Bear with me, I'll get better, so if you have any questions, feel free to ask :). 

To begin you will need the below for this project:

  • Canvases ( 4 X 10 by 10, and 1 20x20)
  • Nail gun 
  • Black transfer 
  • Design ( laundry signs File) for the Silhouette Cameo
  • Stain (optional)
  • Picture frame clips

Next, I removed the canvas from the wood. This was tricky part in that it involved removing the nails that was used to staple the canvas to the wood. I used a butter knife to help remove or a staple remover probably would've been easier, but for the ones that are really stuck, a butter knife worked fine.

 If you are going to use a stain, this is the step where you would stain the wood and let dry. I did get my stain from Home Depot. 

While letting your stain dry, you can download the silhouette (svg.)file and cut on the silhouette to the specifications of the vinyl you are using. 


Next, take your canvas pieces and press the designs on the canvas. I have a heat press that I used, but an iron can work if you are experienced with using a iron to transfer vinyl. 

I did lay out my canvases with the designs prior to transferring them to make sure they were proportioned to my liking. If you find that the designs are too small or too big for the canvas, then resize in silhouette and recut. 


Next, staple your canvas onto the wood frames with the frame exposed to the front. 

Add your picture frame clips using either a power drill or a screwdriver. I did use a screwdriver in that the wood for canvas frames is pretty soft. Hang your project and enjoy!


Be Great,
   Stephanie


SHARE:

Thursday, October 29, 2020

Quick Halloween Costume Ideas


With Halloween literally like two days away, options may be slim with delayed shipping times, out of stock notices, or an indecisive child 🤪! I was inspired to create an easy to make, less than $10 costumes for quick dress up for trick or treating or pretend play. 

The items you need to create these easy peasy costumes are very inexpensive and can be found at your local craft store. 

I created two costumes, an Artist and Magician. 

The Artist

I found a very easy template and tutorial from partywithunicorns  for a beret. You can download the template here for free with subscribing to her page to get their newsletter filled with awesome activities for kids. Any activity that keeps my kids from staring at a screen is a go! 

To create will need:

  • Scissors
  • tape
  • A hot glue gun with extra glue sticks
  • Felt in your color of choice about a 1/2 a yard is enough for this project 

Cut out the template 


Use your cutouts to trace on your felt. A step I missed, that 
you will see, is taping the brim pieces together and then tracing.


Once all traced, cut out the pieces.


So here, is when I realized I missed a step, be sure to tape the brim of the hat 
pieces together and then cut! 😀

Here is a video of gluing the pieces together.


To add to the artist costume, I wanted to add a paint pallet. For this  you will need a Foam board, markers (I didn’t choose a particular colors, just randomly grabbed colors) & an exacto knife, I got this one I used from Dollar Tree.


First, trace the foam board with your template, if 
you don’t happen to have a paint pallet hanging
 around, here is the template for you to use 


Once traced it should look like this.


Then cut with scissors, or an exacto knife, I 
prefer using an exacto knife in that it’s easier and
 gives cleaner lines when cutting foam board.


Once done, you should have the below


Using small bottle, I used my 
essential oil bottle, trace small
circles.


Measure about an half of inch 
between circles and go up the side.


Then fill in the circles with the colors


And your done!


I tied to left over prices to make 
a bow to add to the costume, this can be
 added to a shirt with a safety pin.


Here is the final product. Kingston had a ball modeling this for me, I think if he didn’t have his transformers costume, he wouldn’t mind wearing this!

The Magician 

To create, you will need: 
  • 1 1/2 yard of black felt
  • 36 in black string 
  • Foam Board
  • scissors 
  • glue gun
  • ruler
  • black and white paper (1 sheet each)


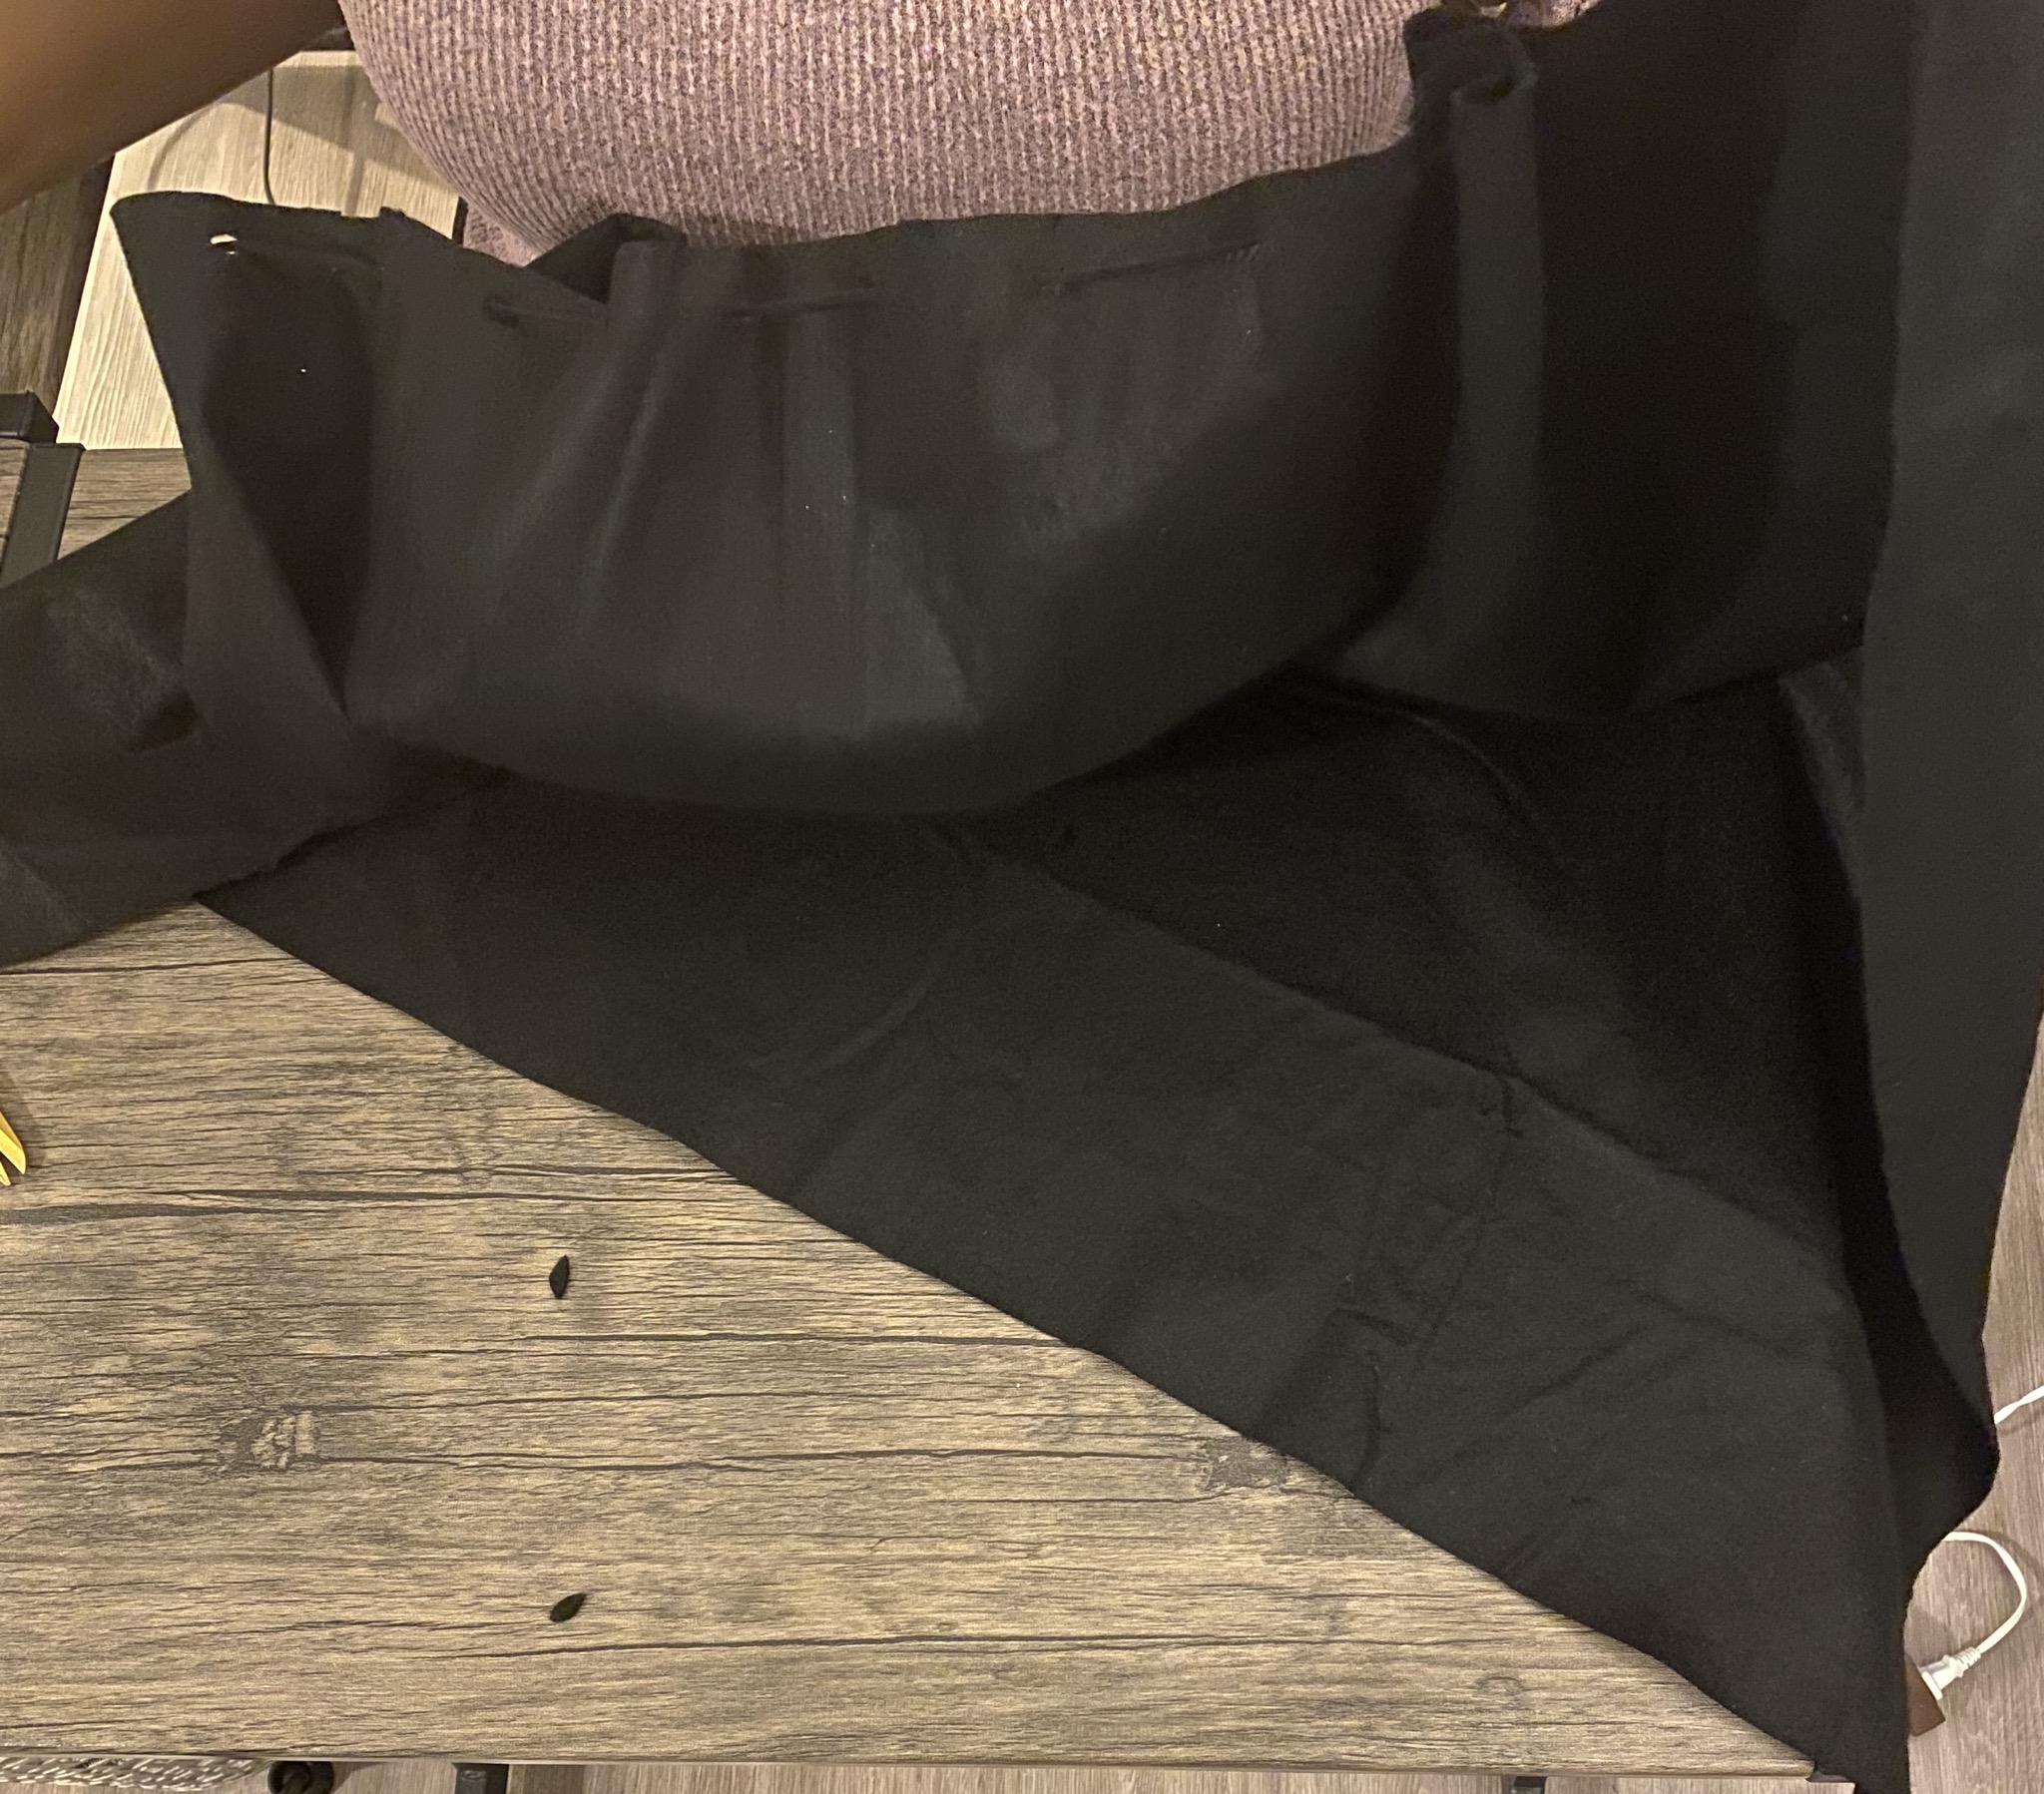
First, measure the black felt 24in x 30 in and cut. At at the top of the 24 in side, measure markings to cut holes 2 inches apart.


Pinching the mark together, I cut a slit to make a hole.


Repeat down the rest of the fabric.


Continue to do this until you have cut out all your holes. 
Side note: the holes don’t necessarily have to be in
 a straight line, but you don’t want them to be too far off.


Lace the string through the holes and there you have a cape!
Trust me, it will look more like a cape when your child puts in on 😁.

Next for the top hat, cut out 20 x 16 piece of felt.    .


 Fold over short ways to make 10x16. Glue the felt together. 

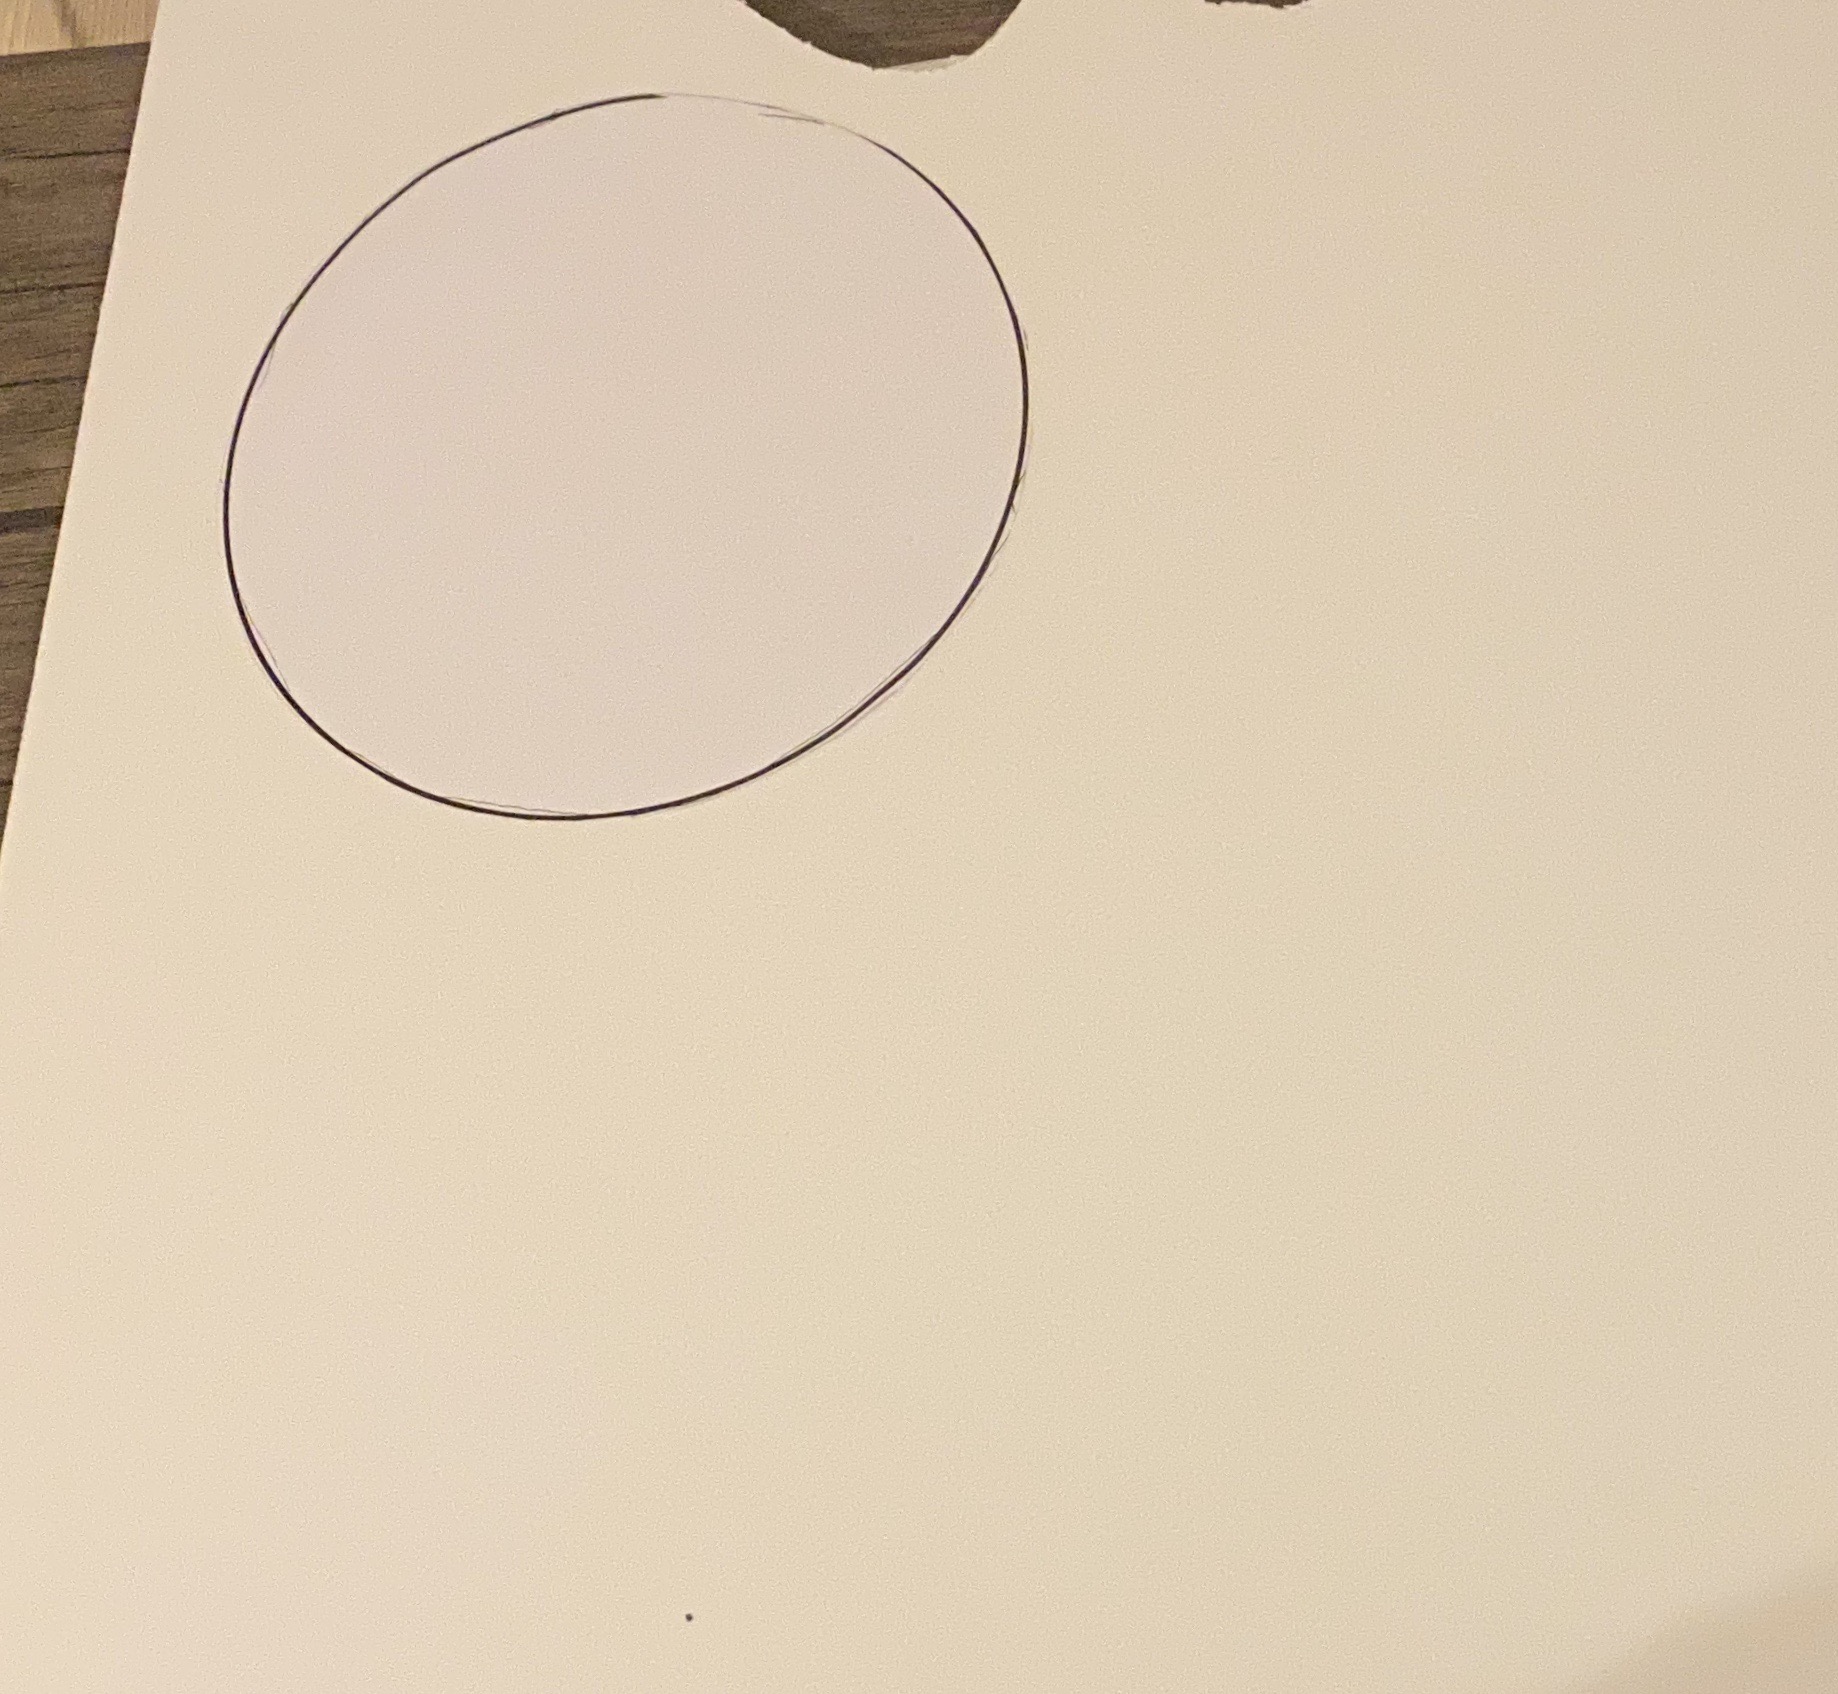
Next use this template to cut out a circle in the foam board.


Use this template to cut out the pieces of felt to complete the top hat.


Trace and cut. 


You should have these four pieces. 


Hot glue the black felt circle on one side of the foam circle.


Take your foam board and hot glue on the edge, and
 continue to glue until you have the circle enclosed.


I missed taking the last picture 🤦🏾‍♀️ But glue the hat to the brim all around.


It’s a top hat!

Next for the magic wand, you will need one piece of
 white and black paper. I used cardstock but
 construction paper will work just fine.


Cut two 2x8 pieces of black paper and
 one 2x2 pieces of the white paper.


Glue the two black pieces together and glue
 the white paper at the end. Roll the paper to 
make a wand and finish with a line of glue.


Now you have a wand!


Finished costume!


Kaitlyn had a fun time being my model, she even added a bunny for effect!

These costumes are fun and simple to make for dress up or Halloween! I hope this gives you some inspiration! Happy Crafting! 


Be Great,
   Stephanie


SHARE:

Tuesday, July 14, 2020

Feathered Mirror - Z Gallerie Inspired Project

So the story behind this project begins when I found online at Lowes a mirror that was on sale for $15 bucks and it ended up being too small for what I initially wanted it for, so it sat in a corner in my dining room for about two weeks. 


Week two of the mirror sitting in our dining room LOL

After week two, I came across "Your House Your Home TV's" YouTube video and was immediately inspired to re-purpose the mirror to be something amazing as she was inspired by a similar art piece found at Z Gallerie.  The mirrors at Lowes are sold out, so I found a similar mirror here that would work perfect for this project. 

To begin, you will take 3 sets of 10 sheets of copier paper.

On the first set of 10, you will draw large feathers (Full page)
On the second set of 10, you will half (vertical) the pages and draw medium sized feathers
On the third set, you will half (horizontal) the pages and draw small sized feathers

The next part is a tedious, but you will cut the feathers out, using the first page as a template and cutting them all together. I cut mine while watching my favorite movie, Bad Boys. 

Paper Feathers  - you can make extra notches on the side to make them look more realistic


In Your House Your Home's project, she used metallic spray paint, which yielded a more glamorous chic result, I wanted to make mine a little more rustic and traditional for the spot it was going to be in. I used Rust-Oleum Chalked Spray Pain - Gray to give my feathers a old weathered look. Any color you are inspired to do, I say go for it. The key to spray painting the feathers, you will need to weigh them down with something so that they do not fly away when you start spraying. Let your feathers dry overnight.

For the next step, I used a hot glue gun and clear E-600 glue to layer the feathers on the mirror.

The order of feathers are large- medium - small and you continue to layer until you come to a center.

Start with large- medium- small into a circular pattern to come to center

I used the E-600 glue to first glue down the large feathers to ensure they stick because they are going to be on the mirror. Once I finished the large feathers, I then started with the medium and used a hot glue gun to layer those, then moved to the smaller ones and layered those to come into a circle. You will have to cute some feathers as you layer into a circle.

Finished Product! 

I was so excited in how this turned out and have gotten so many compliments.

Share your projects and let me know what colors you chose for your feathers or another technique you used! Feel free to send me any questions you may have, I was too excited when I started and missed taking a lot a of process pictures with this project, so I hope I was able to explain the steps clearly. Happy Crafting!


Be Great,
   Stephanie


SHARE:
Blogger Template Created by pipdig